Learning to see like a camera
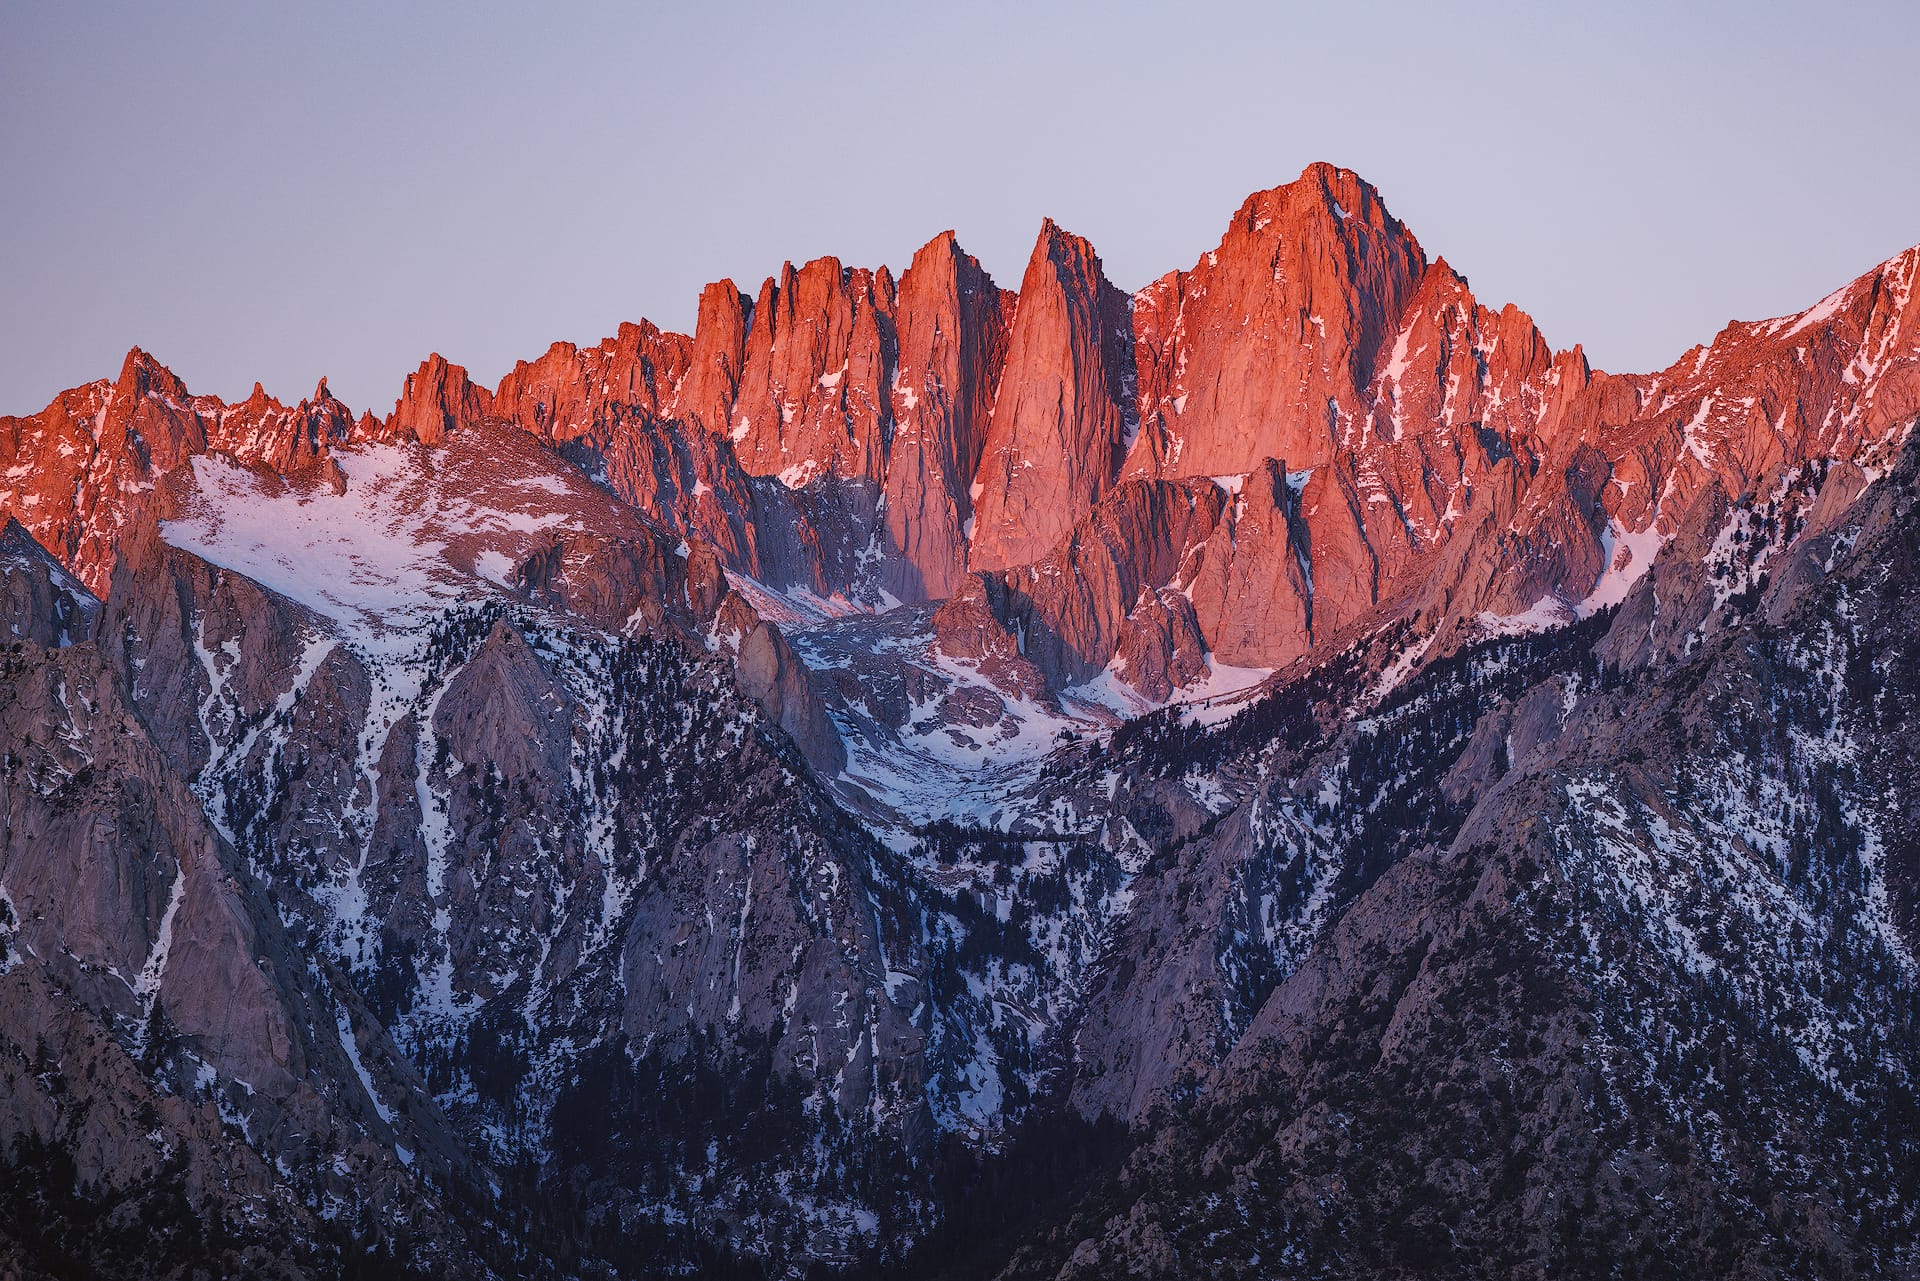
On my recent trip out west to photograph Alabama Hills and surrounding areas, I was excited to try my hand (again) at photographing the Eastern Sierras at sunrise. In winter, the entire mountain range is painted in warm, gorgeous hues of yellow, orange and red. The effect lasts only a few minutes, so planning a shot in advance is necessary.
Two years prior, I used a long telephoto lens to pull the mountains close. The resultant image turned out...okay. Good color and decent composition, but the image lacked energy and atmosphere. I also questioned whether telephoto was the right choice of focal length, for it removed all surrounding context (notably, the wonderful boulders and rock formations of Alabama Hills in the valley below). Here's that image:
This time around I wanted to create another sunrise image of the same subject, but with a foreground. I thought if I hiked higher off the ground and into the hills, I'd find a compelling "frame" that added depth and visual interest to the mountains.
After hiking and scouting the landscape the day before, and finding a composition I felt fairly good about, I ventured back early the next morning. I setup my tripod, looked at the image on the back of my camera's LCD screen, and immediately noticed a problem. The foreground wasn't catching any light.
But worst of all, the foreground had the exact same tonal values as the lower portion of the distant background. And because their respective brightness levels were the same, and I was shooting with a stopped-down aperture for sharp details front-to-back, the foreground and background melded together; forming a dark lump that lacked sufficient visual separation and depth (as illustrated in the unedited raw file below).
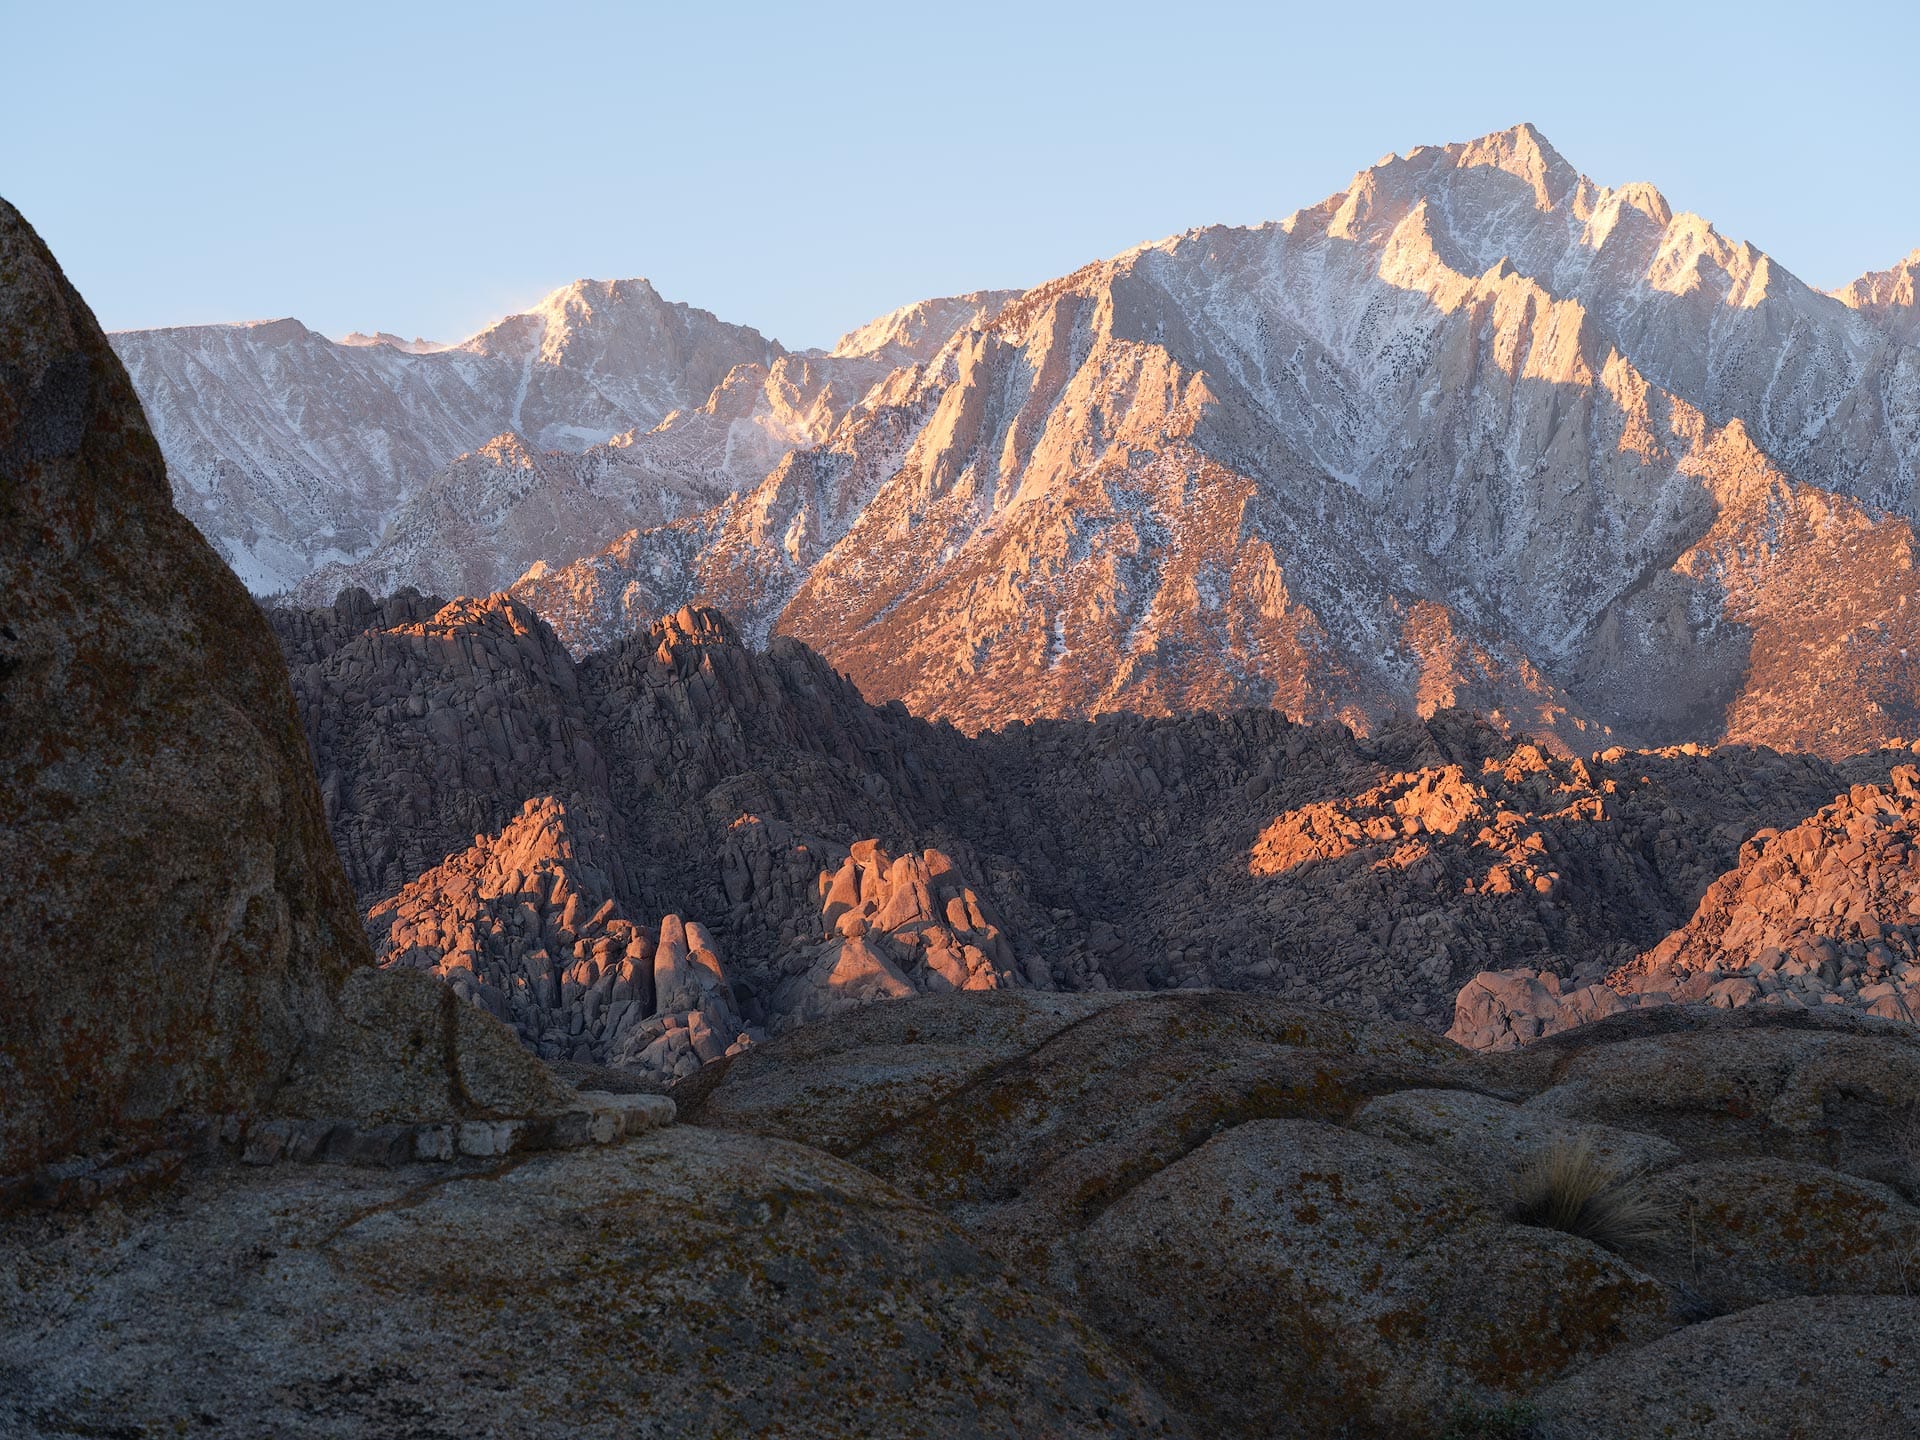
Standing behind the camera, I could see the difference between the foreground and background, but my camera could not. It flatted the environment to a two dimensional plane. The foreground and background were half a mile apart, but the camera didn't see it that way.
In situations like this, I've learned to use the black and white mode on my camera to see tonal values and catch problems before it's too late. I use this technique so often I assigned Fujifilm's Acros film simulation as one of the custom shooting modes on my GFX 100S. This allows me to quickly switch to black and white to perform a visual audit, then back to color.
When I viewed the image in black and white on the back of my camera (example below), I knew I was in trouble and needed to find a different composition.
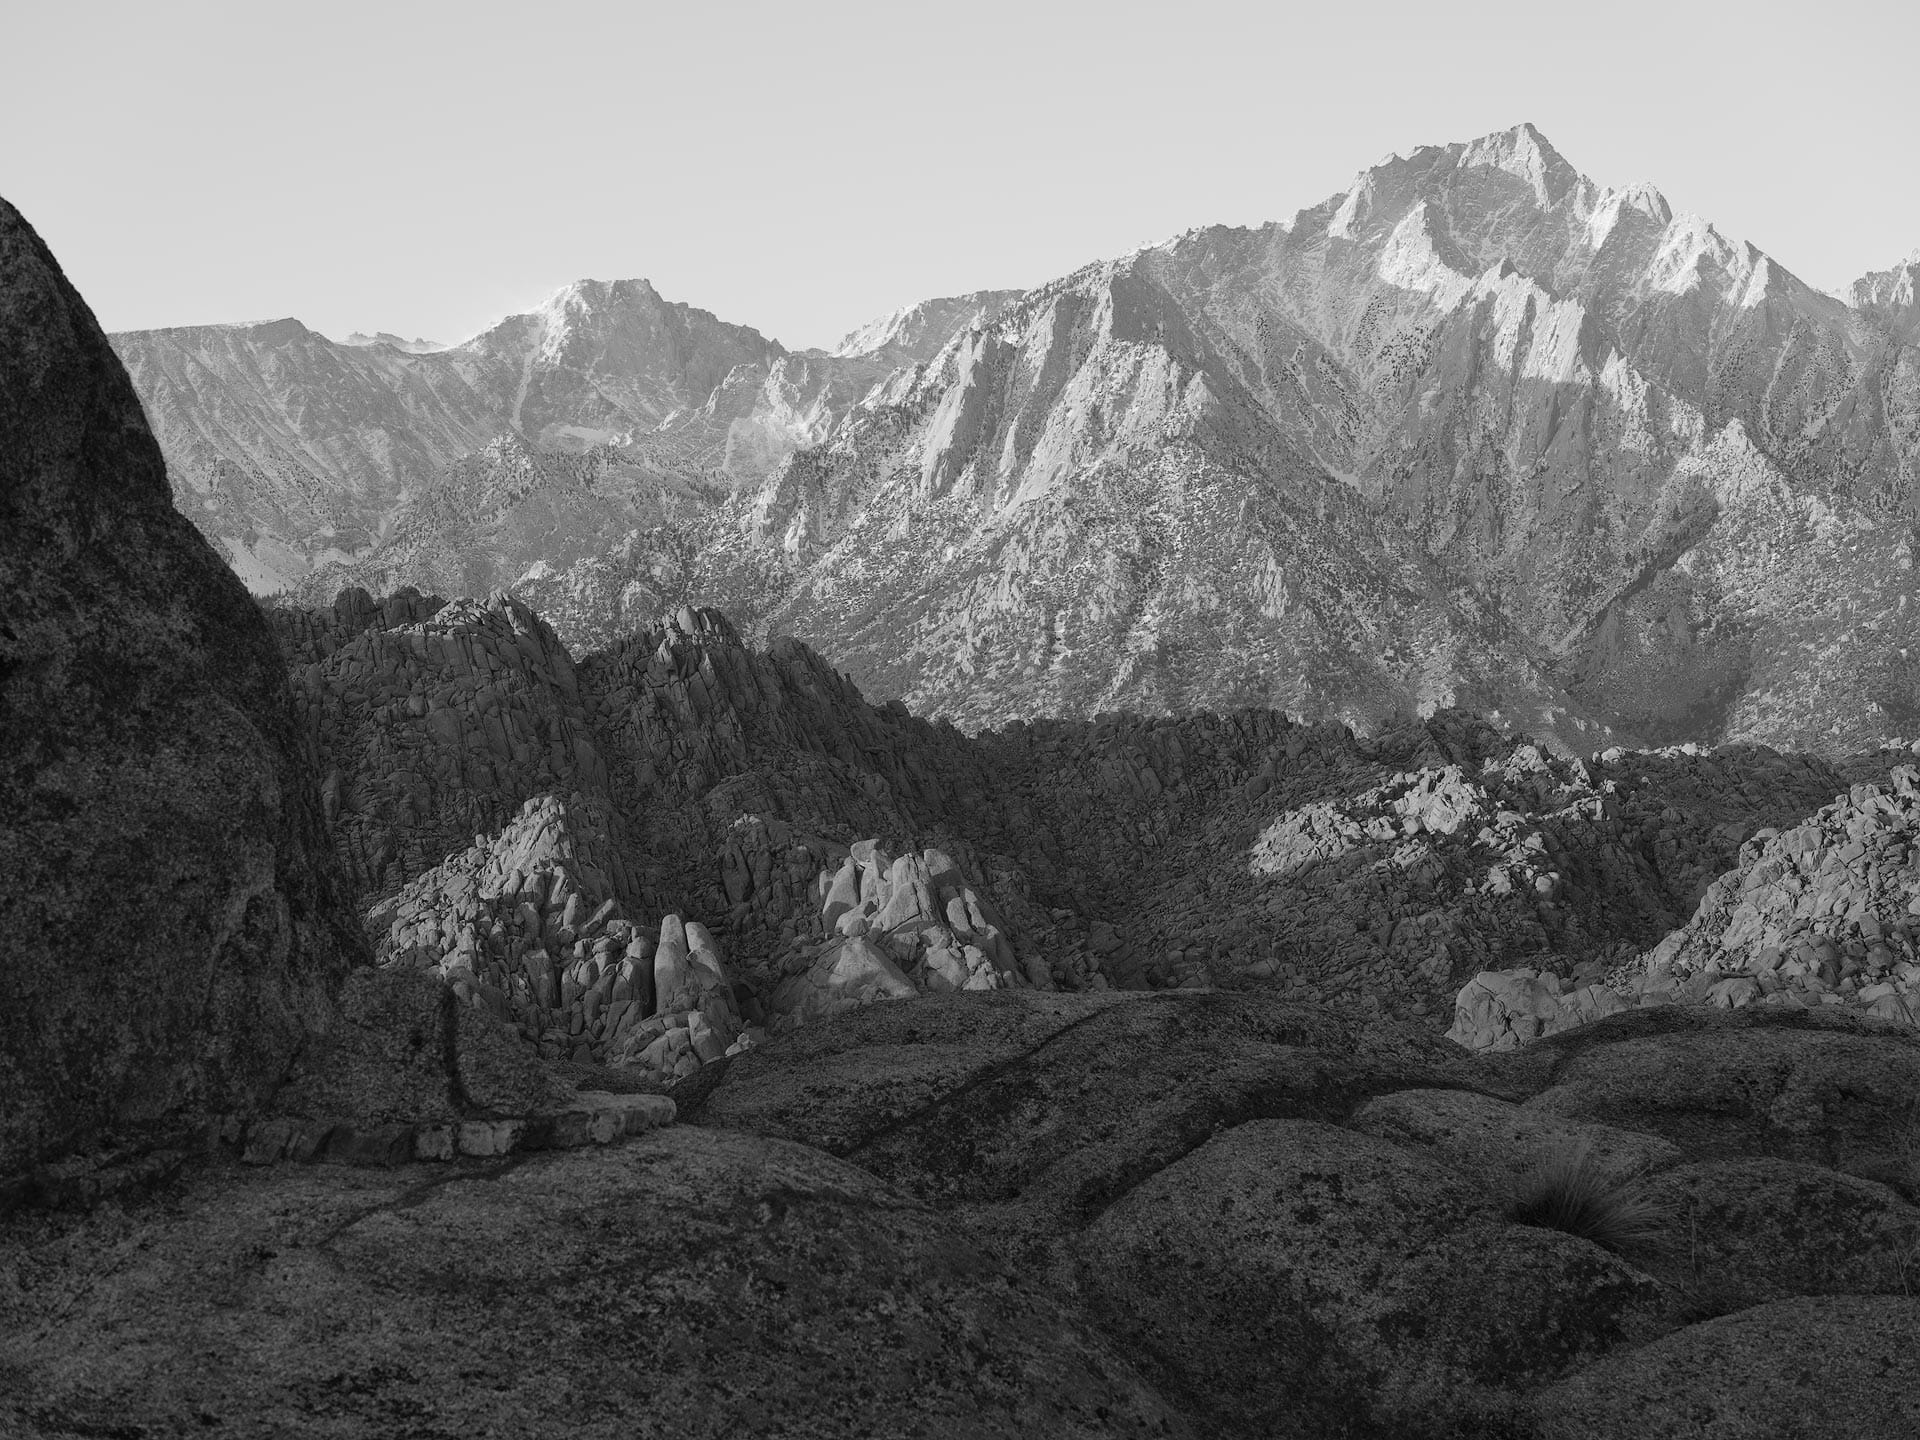
The key takeaway here is to remember that the camera sees a completely different world than what you and I see. The camera only sees light projected onto a flat plane, and has no idea how much distance there is between subjects. If adjacent areas share similar tonal values, they will always mass and clump together; robbing an image of its natural depth.
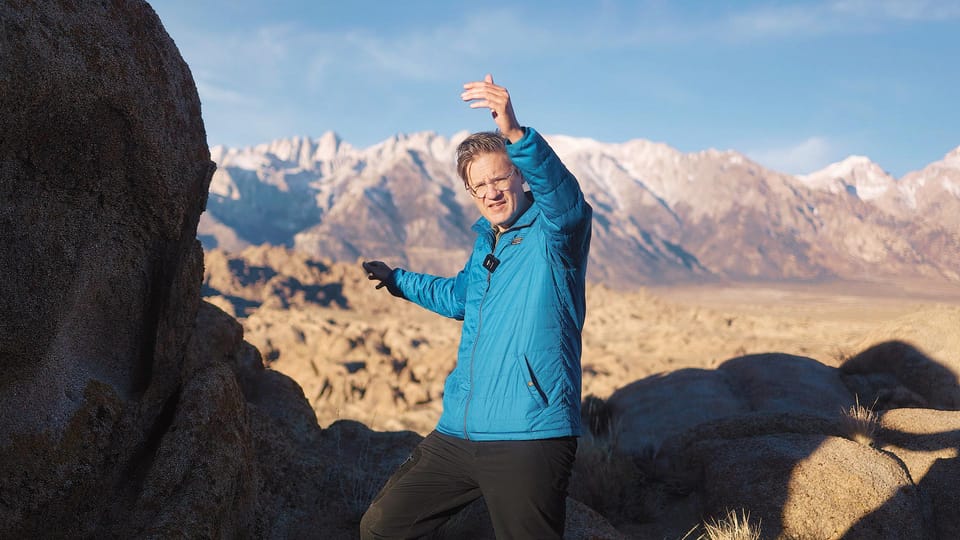
I also made a video from Alabama Hills on this topic, if interested in checking it out: