ND filters on the Osmo Pocket 3: Are they worth it?
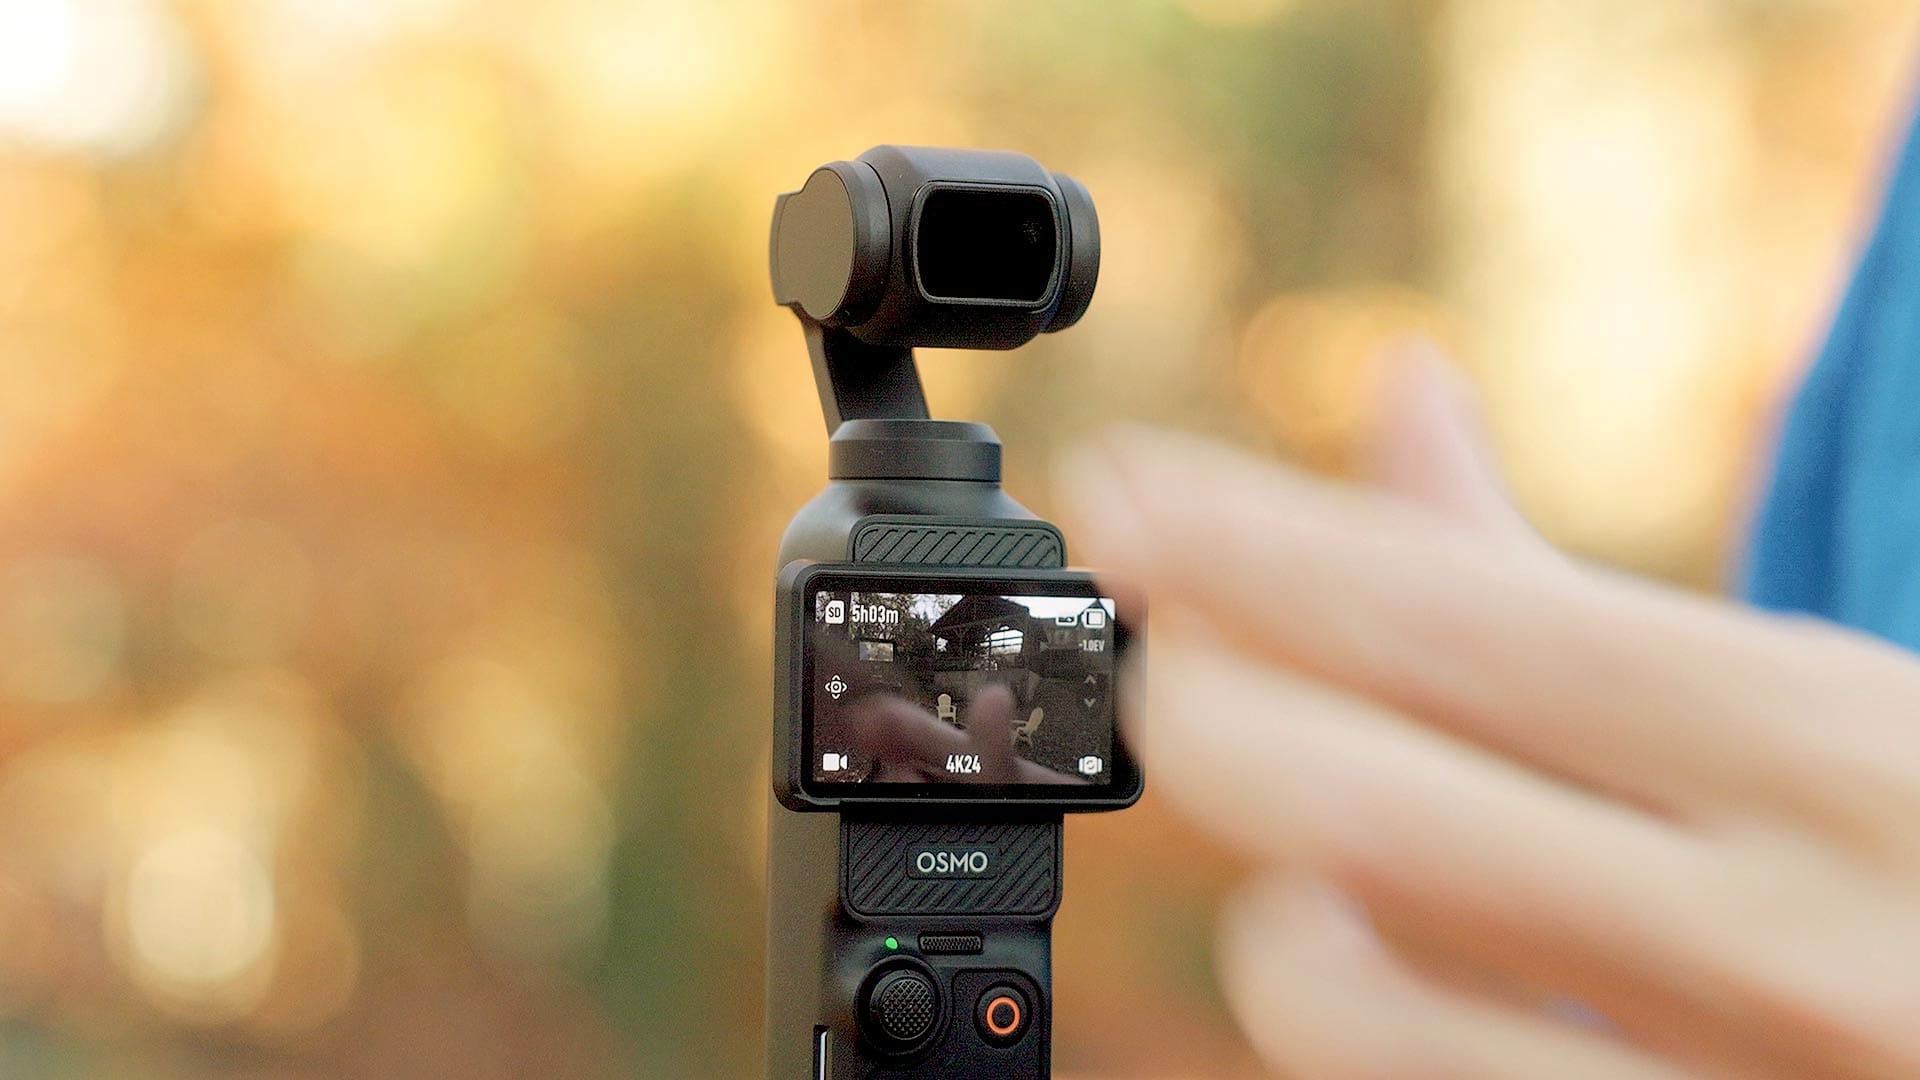
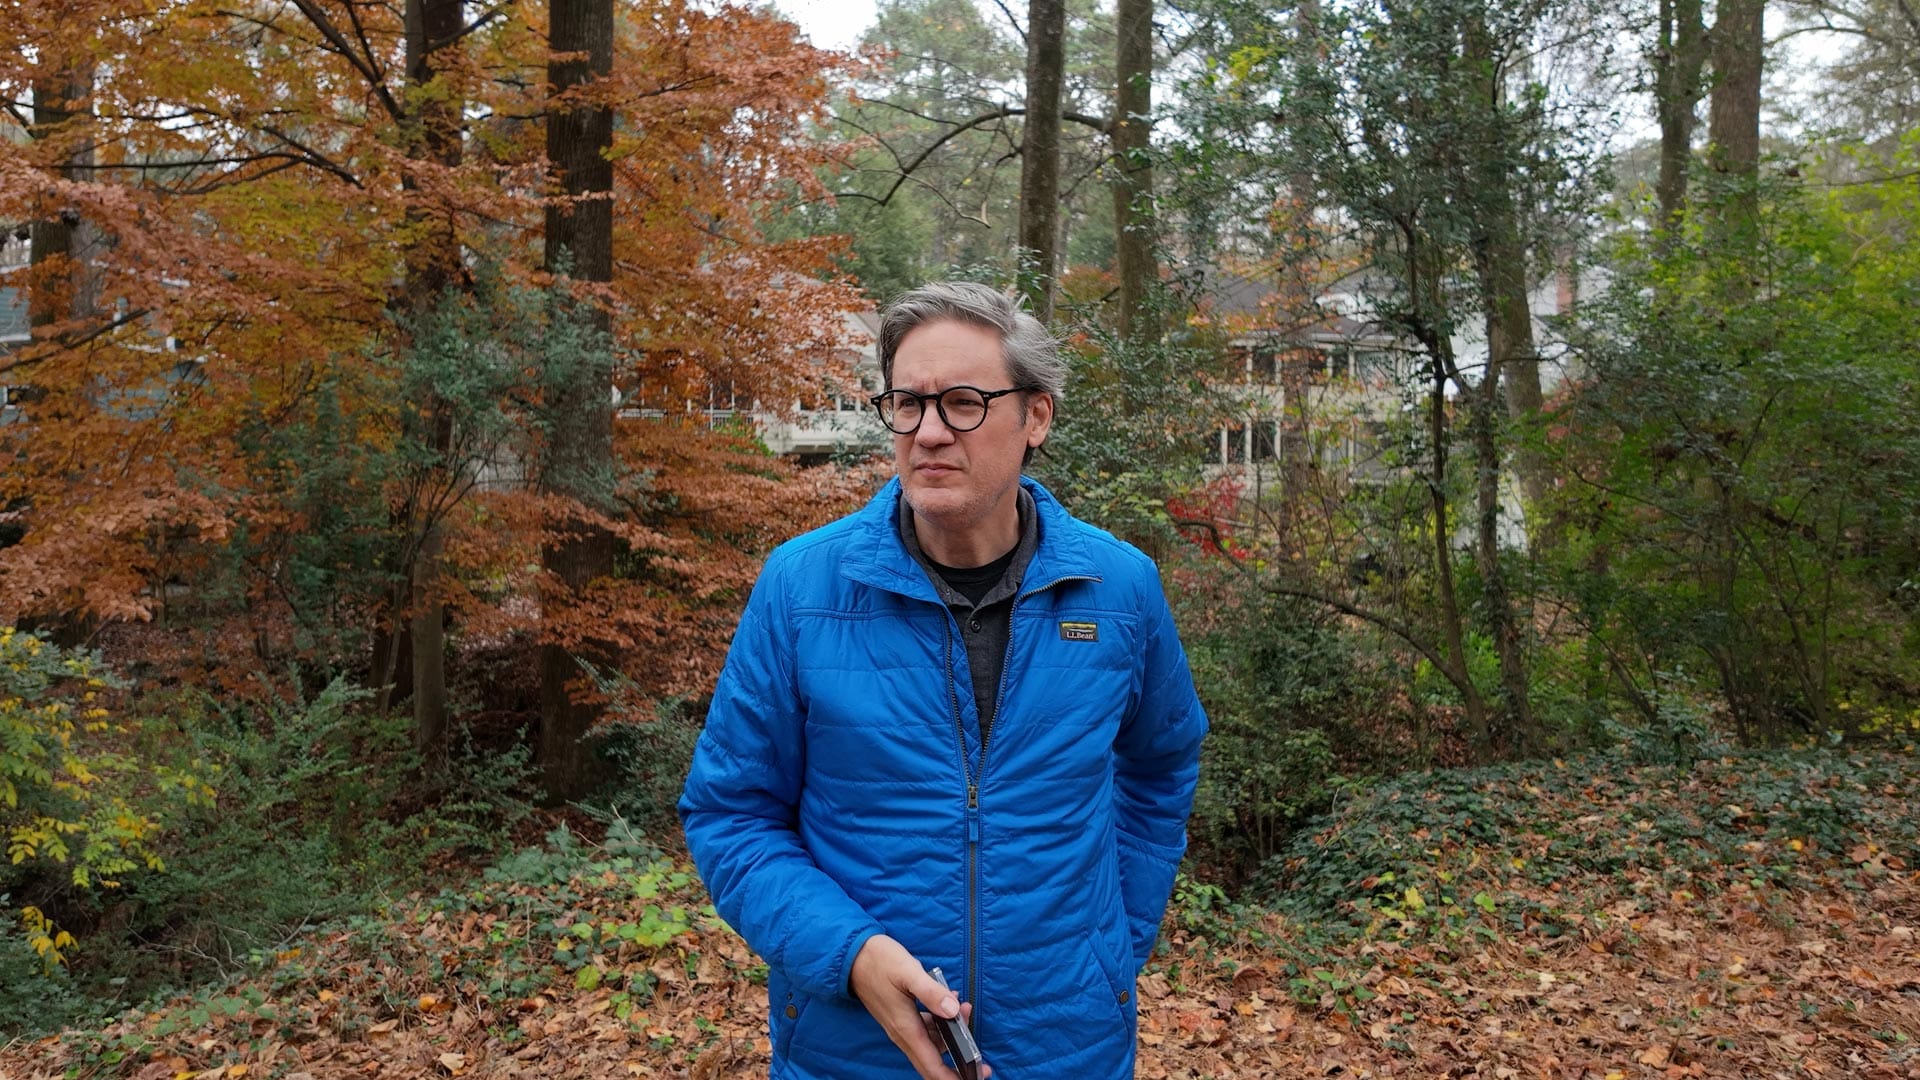
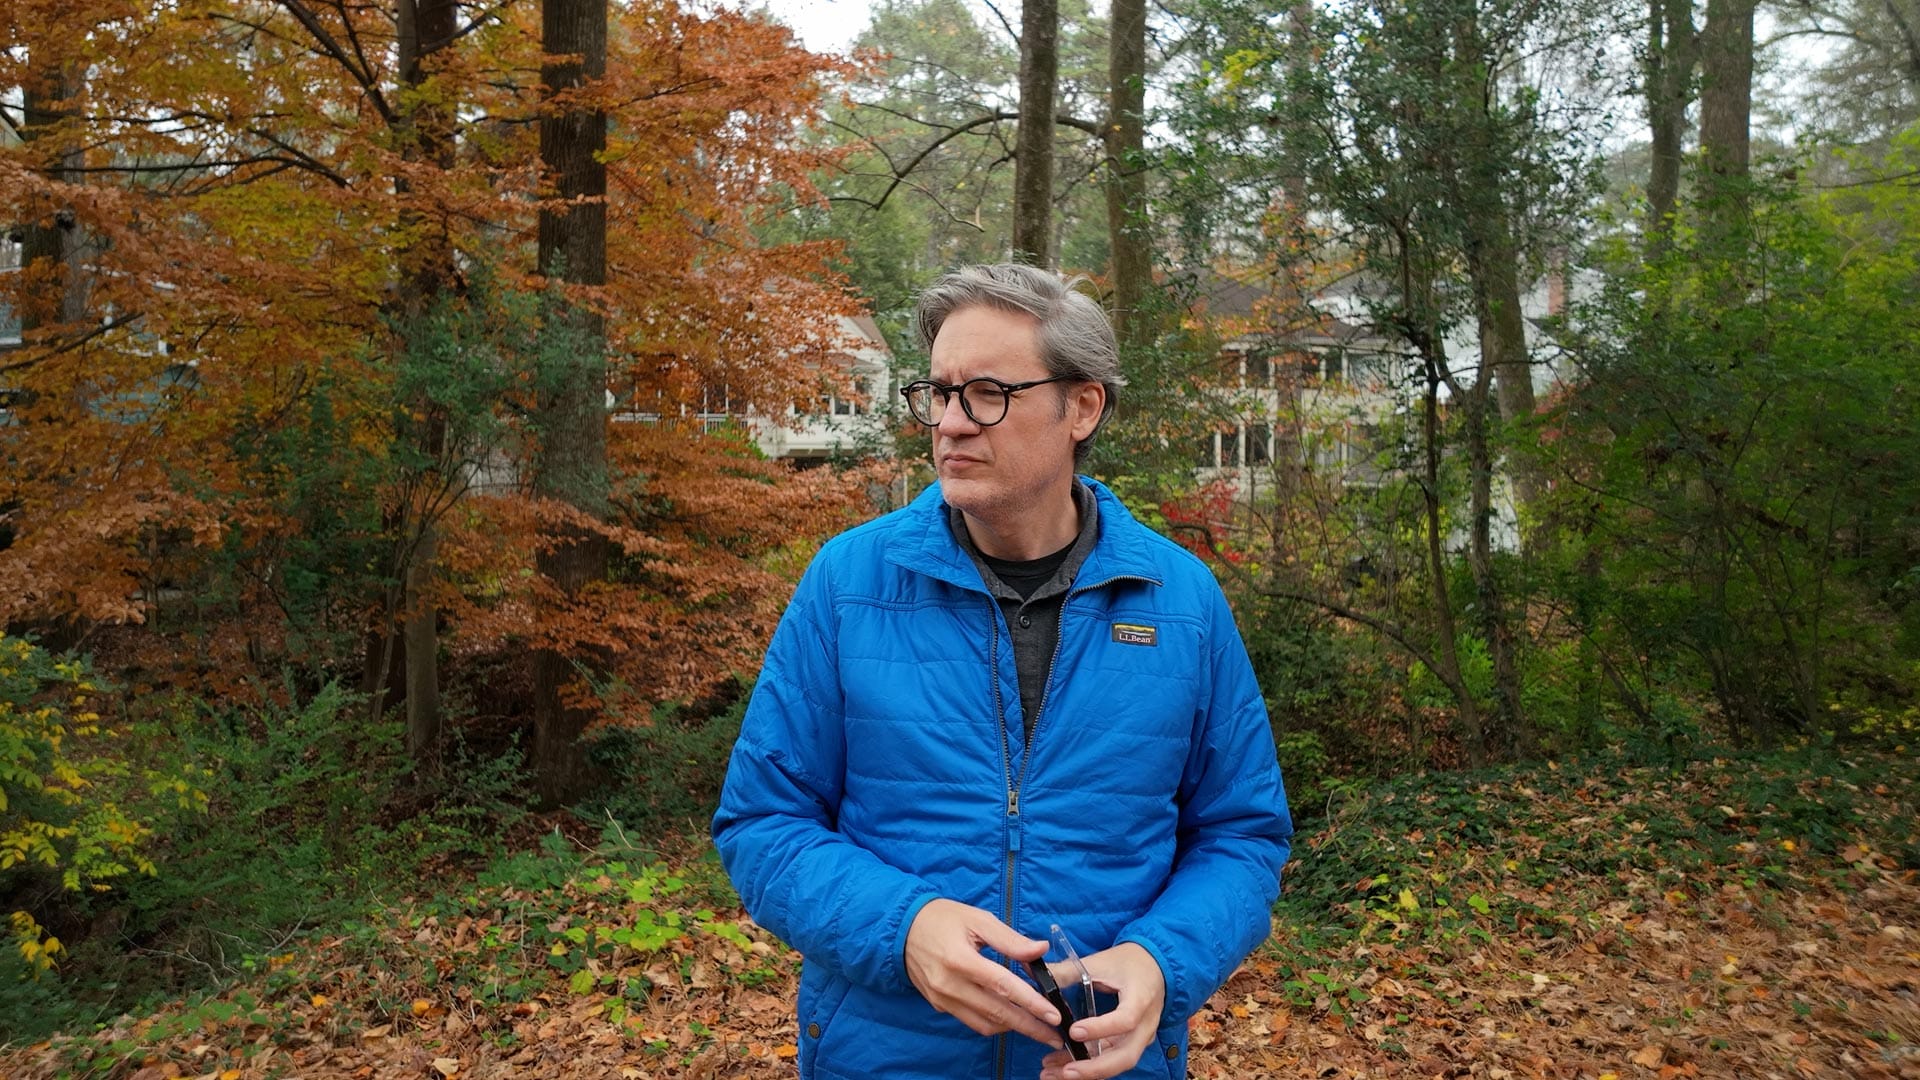
The Osmo Pocket 3 is DJI's third attempt at designing a stabilized, pocket-sized video camera for vlogging and content creation. The first two iterations provided more or less the same image quality as an action camera (eg, GoPro Hero and DJI's own Osmo Action), but v3 leapfrogged the competition with a 1 inch CMOS sensor for improved low light performance and depth of field, plus an integrated wireless microphone receiver and transmitter (available in the Creator Combo option) that makes recording audio much easier.
The Pocket 3 provides pretty solid image quality out of the box, but can it be improved further by using neutral density (ND) filters to shoot video at slower shutter speeds and increase clarity?
I decided to find out by testing a variety of magnetized solid NDs and ND/PL filters from Freewell's Pocket 3 mega pack.
- Slower shutter speeds, more natural motion
- Solid NDs contribute very little color cast
- ND/PL filters add clarity and color
- Filters are stackable
- Magnetized case that holds filters in place
- Small, fiddly, easy to drop
- Fingerprints impossible to avoid
- Incompatible with DJI 0.75x wide angle modifier
- Can make footage worse if used improperly
- May be too much hassle for the average user
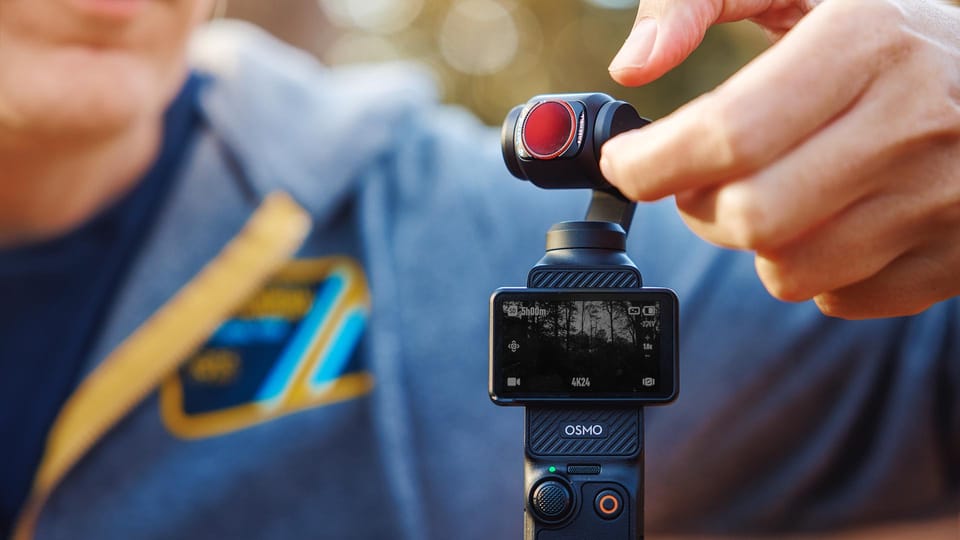
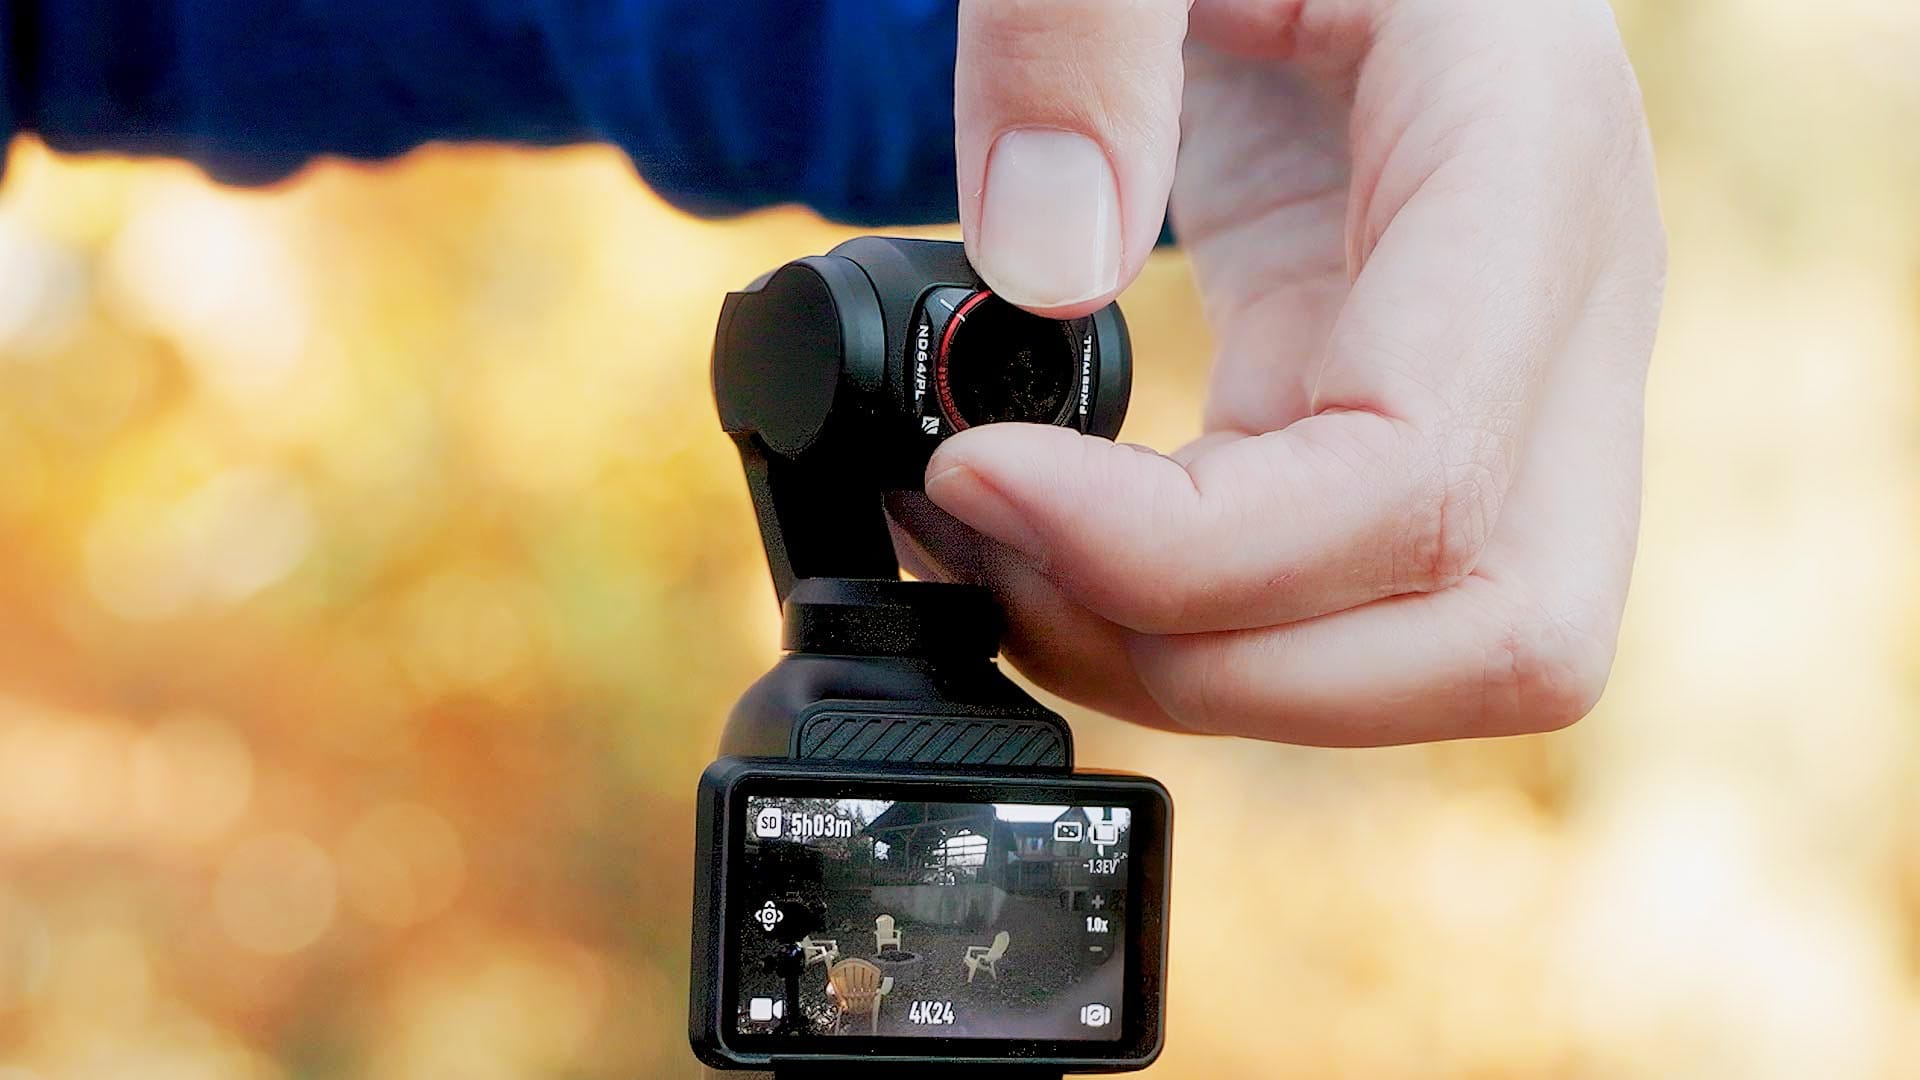
Mounting filters on the Pocket 3
The Pocket 3's camera has a magnetized face that makes adding and removing filters super easy. Simply hold a filter in front of the lens, and it will magnetically click into place. Filters are removed just as easily.
Filters do not interfere with gimbal movement while shooting video, but they do get in the way when powering off the Pocket 3 and the gimbal tries to tuck the camera inward to protect it from scratches and damage. Doesn't seem to hurt anything leaving the filters attached, but you may want to remove them when the Pocket 3 is not in use.
Unfortunately, none of the Freewell filters (or any Pocket 3 magnetized filters) are compatible with the 0.75x 15mm wide angle modifier included in the Pocket 3 Creative Combo pack because the modifier does not have a magnetized front. Would love to see DJI change this in a future version.
How exposure works on the Pocket 3
Before using filters, we first need to examine how exposure operates in the Pocket 3. By default, exposure is calculated automatically by adjusting shutter speed and ISO. Aperture is fixed at f/2.0, which means it cannot be changed.
When recording video in medium-to-low light environments, shutter speed is automatically lowered to 1/50 of a second, then ISO is raised as needed. If ISO gets too high, shutter speed then drops below 1/50 of a second. In brighter environments (eg, outdoors), ISO is automatically set lower and shutter speed is increased. Exposure compensation may also be used to push calculated exposure brighter or darker if desired.
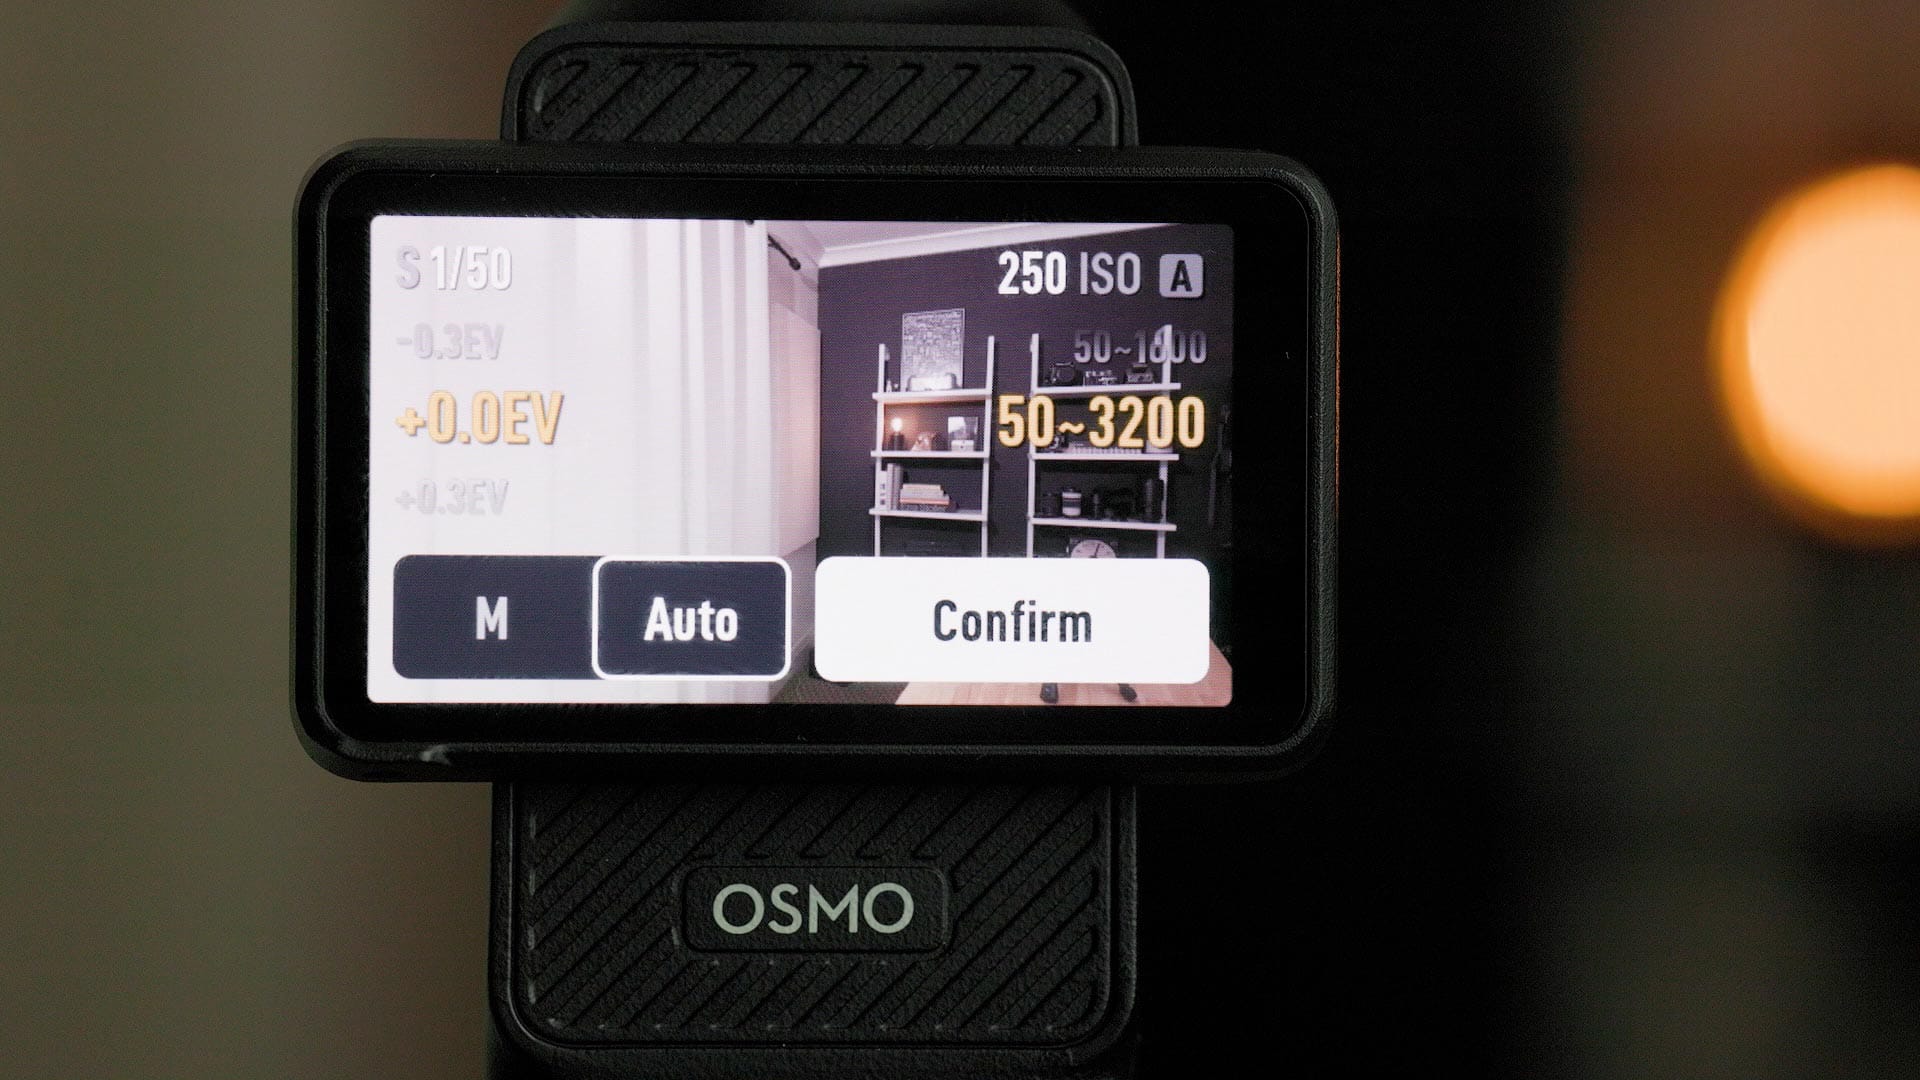
Thankfully, the Pocket 3 also provides manual exposure control. In this mode, users have full control over shutter speed and ISO, and the camera won't automatically change exposure settings when recording video. This can be enabled by tapping the "Manual" option on screen, then manually rotating shutter speed and ISO to their desired values.
Controlling Pocket 3 exposure using ND filters
Neutral density filters reduce the amount of light reaching a camera's sensor to allow slower than normal shutter speeds. Videographers and filmmakers want this to create more natural looking motion blur in their footage. This is technically referred to as the "180 degree shutter rule", where shutter speed is ideally set to one over a video's frame per second (fps) multiplied by 2.
For example, the ideal shutter speed for 30 fps is 1/60 second (30fps * 2). 24 fps is 1/48 second, or 1/50 rounded up. Neutral density filters help reduce light and slow the shutter to reach these optimum values.
Freewell's mega pack includes a variety of solid NDs with different densities (ND8, ND16, ND32, ND64, ND128, ND256, ND1000), plus solid NDs with polarized glass (aka "dark CPLs") to both darken exposure and improve clarity.
Picking the right density to achieve the 180 degree shutter rule on the Pocket 3 isn't an exact science, and can negatively impact image quality by over or underexposing exposure if used improperly.
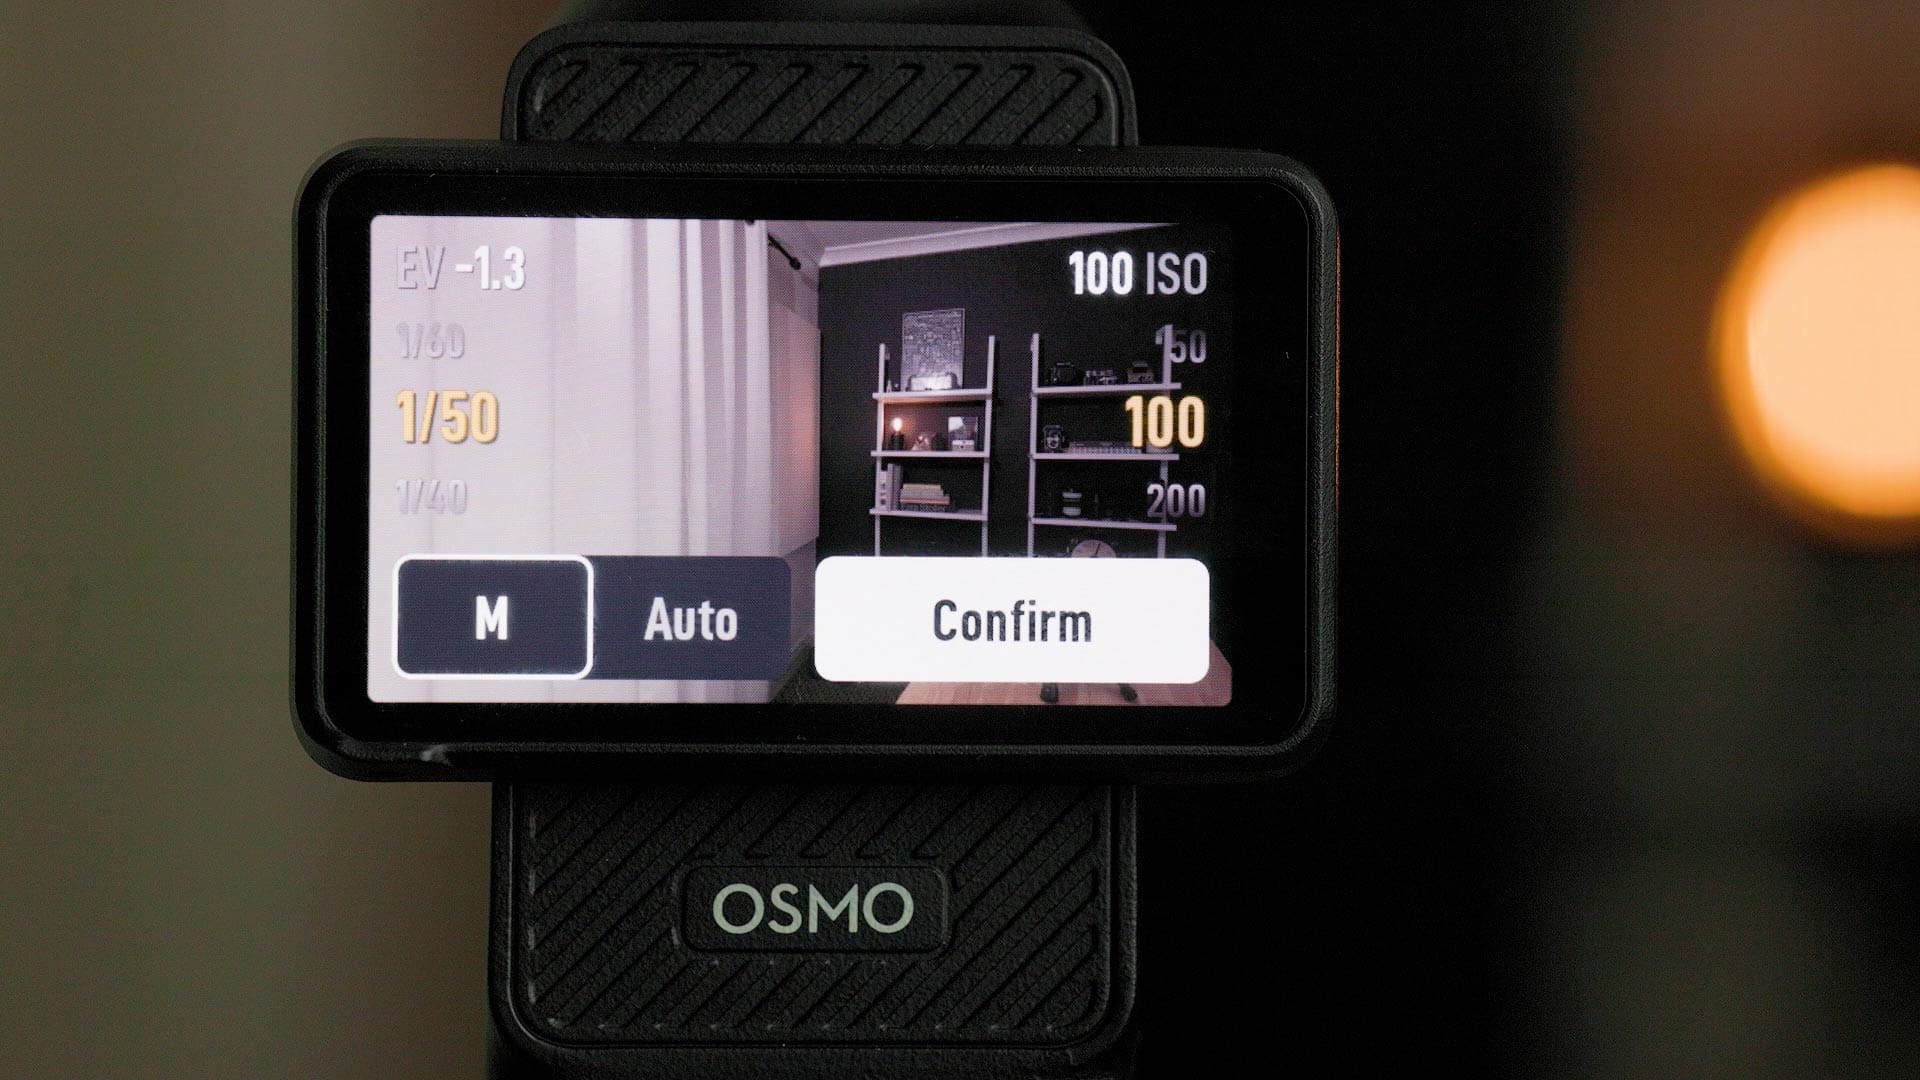
My recommendation? Set the Pocket 3's exposure to manual, shutter speed to 2x fps, then ISO to either a low, fixed value (eg, 50, 100) or range (eg, 50-100, 50-200). I prefer the latter for it allows the camera to automatically raise and lower ISO to compensate for exposure changes within a reasonable range when moving between light and dark areas.
Next, check the Exposure Value (EV) number at top left. This will show you how over or underexposed your image is.
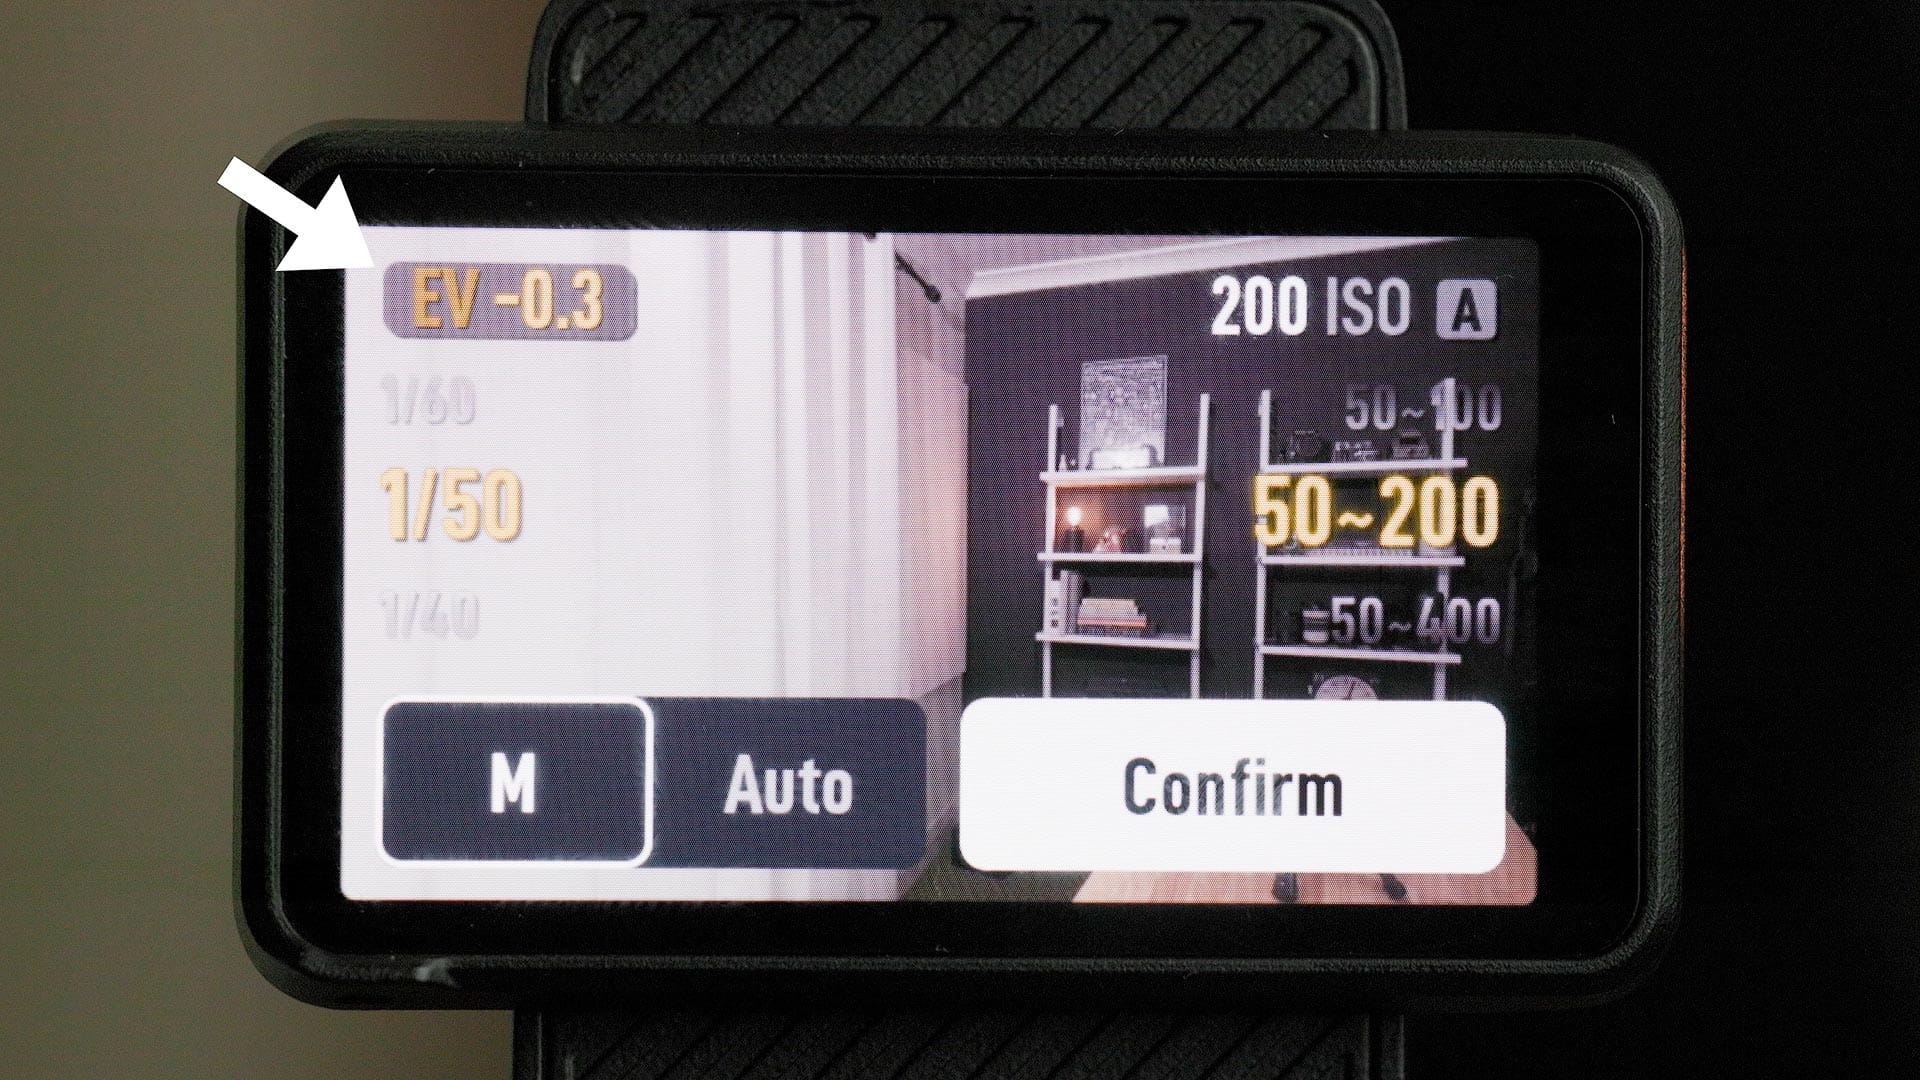
Unfortunately, this EV number does not display f-stops. Rather, it is a general metric related to exposure compensation. In other words, "+2" does not mean two f-stops. And without a histogram or zebra mode to help us out, it's hard to tell which ND filter density you need to bring this number closer to zero.
With an ND filter attached, an EV value that fluctuates between -1 and +1 means you're good to go. If EV is +2 or higher, use a stronger ND. If EV is -2 or lower, use a weaker ND. The goal here is getting EV as close to zero (0) as possible to achieve normal exposure with an ND filter attached.
For optimum results, I would recommend picking a density that leans more towards overexposing than under. The latter doesn't look that great, while the former does a better job with skin tones.
Improving Pocket 3 clarity with ND/PL and CPL filters
Circular polarizers (CPL) polarize and filter light to remove reflections and increase color density and contrast. They function by rotating one pane of polarized glass in front of another, and achieve their maximum effect when rotated ninety-degrees relative to the direction of sunlight.
For general use, and especially when walking and carrying the Pocket 3, Freewell recommends aligning the white tick marks on the CPL and ND/PL filters. This positions the front pane of glass at a reasonably good, but not perfect 40 degree angle that should be fine for most use cases.
When shooting in Auto or Manual exposure mode on the Pocket 3, the CPL filter helps increase clarity and color density, but without darkening light and slowing shutter speed. (Technically, it does reduce exposure by 1 stop, but the effect is minimal).
Here's example video footage shot in D-Log M on a cloudy, overcast day with soft light. The first image has no filter, the second with Freewell's CPL. Notice how the colors are a little more vibrant and dense, even on a day without direct sunlight.
Qualitative results using Freewell's Pocket 3 ND filters
All of Freewell's ND and ND/PL filters contribute minimal color cast to Pocket 3 footage. The solid NDs skew a a hair towards blue, while the ND/PL filters skew towards yellow. The LPR (Light Pollution Reducer) filter skews towards magenta, but it is a specialized filter for mitigating artificial light at night, so it's not designed for neutral light.
Mechanical vignette (where the edges of the filter darken the frame) is not a problem with any of these filters, even when two are stacked (eg, ND + Snow Mist 1/4 filters). The CPL and ND/PL filters can however darken the sides and corners of the frame due to how their polarized glass filters light.
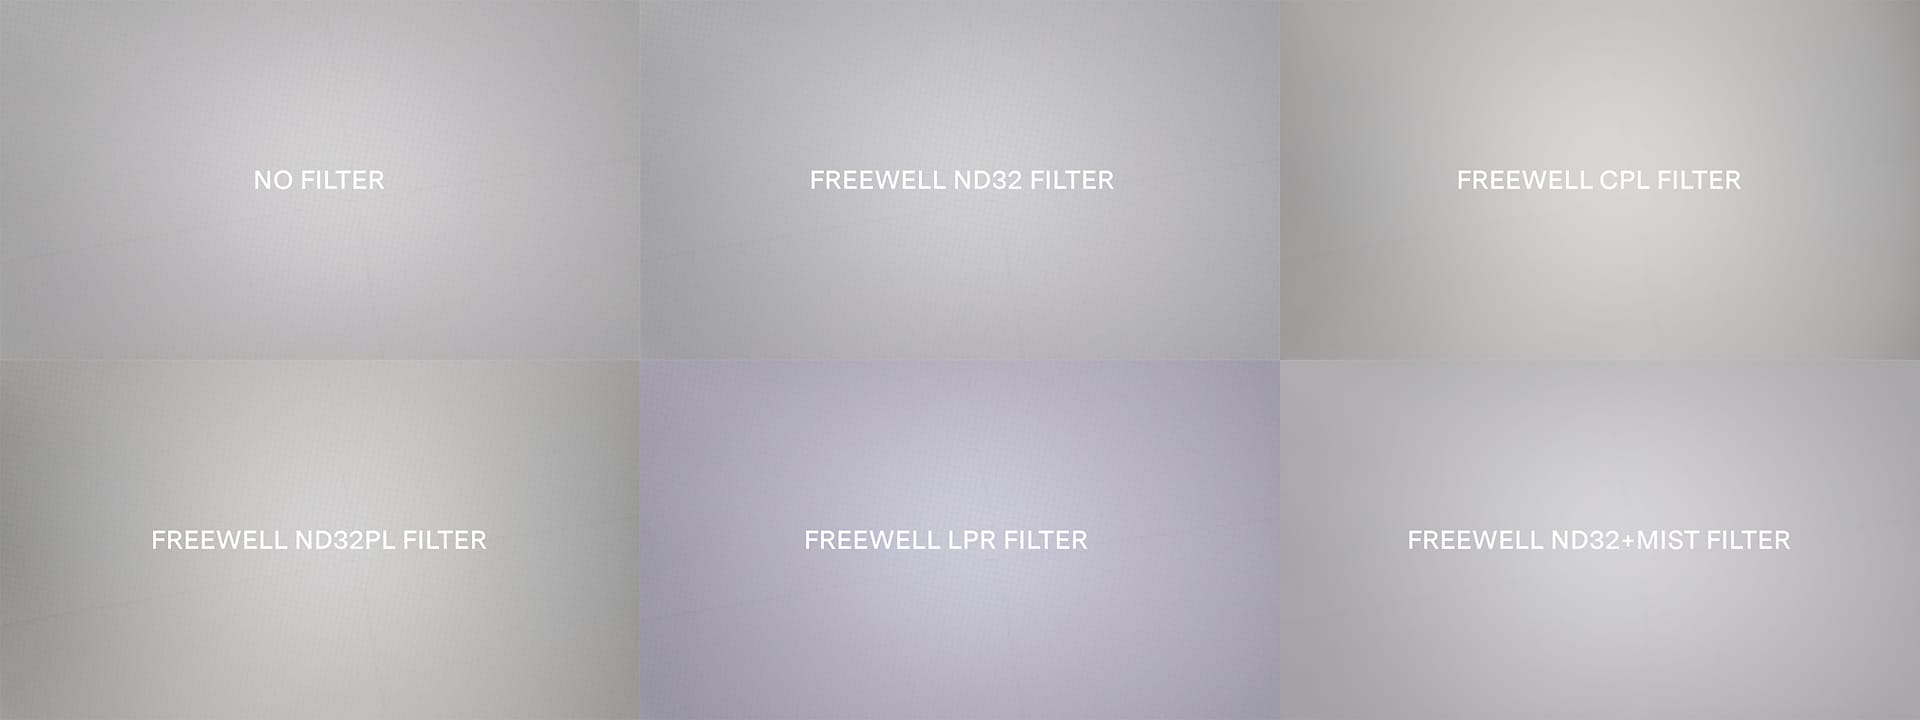
Keep a watchful eye on the CPL and ND/PL filters when used outdoors on bright, sunny days. Their polarized glass can cause blue skies to get splotchy when rotated to a sub-optimal angle relative to the sun. As mentioned earlier, when in doubt, align the white tick marks for general use, or switch to solid NDs.
Both the solid NDs and ND/PL filters do a good job of blocking light and allowing the Pocket 3 to shoot video at slower shutter speeds. Motion appears smoother, less jagged and crispy. More like what you'd see in a television or film, which is nice. It's a subtle difference, but does heighten the perceived quality of the footage, for it no longer looks like it was recorded using a cheap action camera.
Check out the video below for comparison footage shot outdoors on a bright, sunny day using the Pocket 3's Auto exposure mode, resulting in a very fast shutter speed, compared to footage captured at 1/50 second with an ND and ND/PL filter. Also notice how the solid ND (ND32) introduces less color cast and contrast/clarity compared to the polarized ND/PL filter (ND32/PL).
This video also includes Freewell's Snow Mist 1/4 filter for the Pocket 3. I'm usually a fan of diffusion mist filters when shooting video, for they help soften highlights and clarity, but I'm not crazy about this particular filter. When used outdoors, Snow Mist 1/4 causes highlights to bloom too much, and blacks and shadows get milky and a little strange looking. I doubt I'll be using it outdoors.
Is the Mega Pack worth extra money?
At the time of this review, Freewell's 14 "mega pack" of Pocket 3 filters retails for $150. That's a pretty good deal for the number of filters provided. That said, unless you plan to shoot timelapses and need super dark NDs like ND256 and ND1000, Freewell's All Day 8 pack for Pocket 3 may be all you need for general purpose video. Plus, it costs less ($99).
Final thoughts
Do Freewell's filters produce a better image on the Pocket 3? When used correctly, I believe they do. They won't create better, more beautiful backgrounds or bokeh (because the Pocket 3 aperture is fixed at f/2), but they can make motion smoother and more natural, while also improving color and contrast.
The real question is whether they're worth the hassle, for part of the Pocket 3's allure is how simple and easy it is to whip out and start recording. ND filters make things more cumbersome, for exposure settings must then be set manually, and you'll also find yourself constantly cleaning smudges and fingerprints (you will absolutely need to pack a microfiber cloth in your camera bag).
For me, they're worth it. I like how my Pocket 3 footage looks with the ND and ND/PL filters, and prefer shooting using manual settings so I have some control over what the camera is doing.
Click the button below to check the current price for Freewell's Pocket 3 Mega Pack, and other filters made by Freewell.